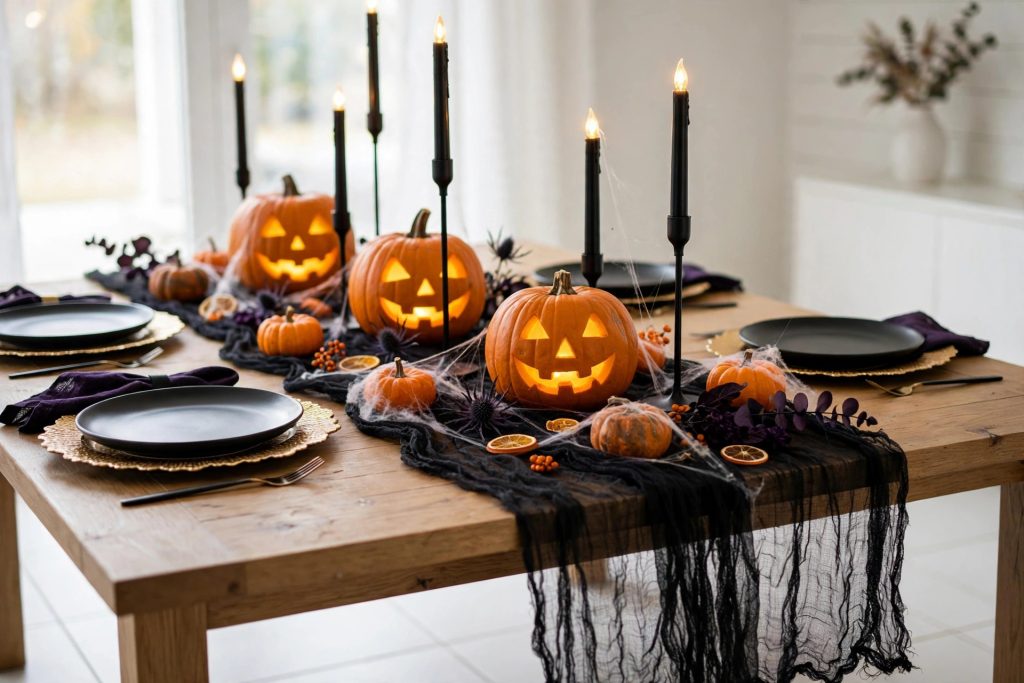
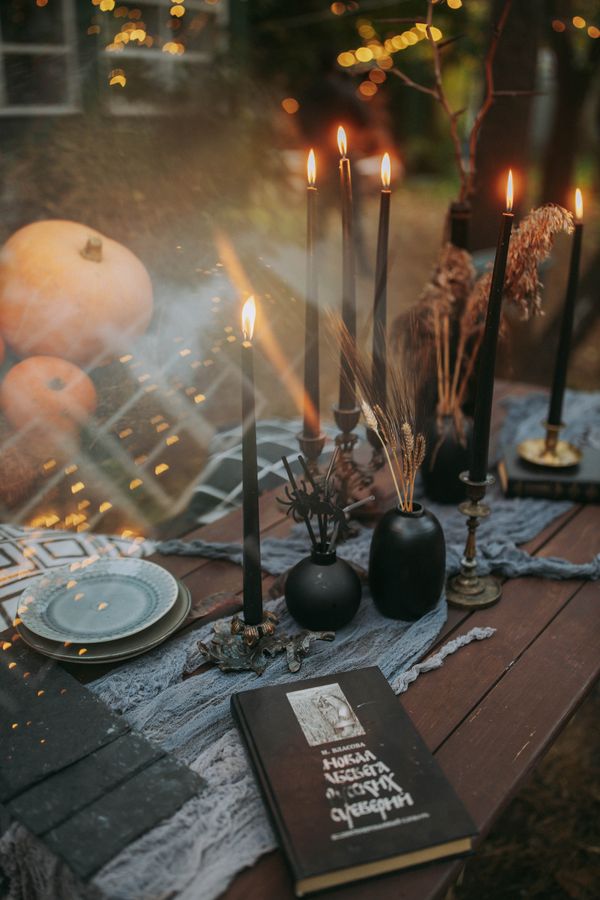
The dining table is where your Halloween actually happens — the dinner before trick-or-treating, the party spread, the cozy late-night movie night. And unlike the front porch, it doesn’t take a single trip to a Halloween superstore to look incredible. A dark runner, a handful of pumpkins, and candlelight do about 80% of the work. This guide shows you exactly how to decorate a dining table for Halloween in about an hour, without spending a fortune or covering your table in plastic junk.
The Quick Answer
To decorate a dining table for Halloween: start with a dark, textured runner (black cheesecloth gauze is the classic), build a low centerpiece with pumpkins in three sizes plus candlelight, keep the middle of the table at or below 10–12 inches tall so guests can see each other, and finish with simple dark place settings. Decorate 2–3 weeks before Halloween; carve real pumpkins only 3–5 days before the 31st.
Step 1: Lay Down the Runner — the One Item That Does Half the Work
The short version: a black gauze runner instantly turns any table into a Halloween table; it’s the single highest-impact piece you can buy.
Before you touch anything else, cover the middle of your table with something dark and textured. A black cheesecloth-style gauze runner is the classic choice because it looks like spiderweb fabric — wispy, crinkled, and dramatic — while costing a fraction of a full tablecloth. Let the ends drape generously; for that flowing look, your runner should hang 12–18 inches past each end of the table, so size up rather than down.
The beauty of this piece is that it works for everything else this season, too. Layer it over white linen for a wedding, scrunch it down a sideboard for Thanksgiving, or reuse it year after year — which is exactly why it’s a better buy than single-use printed plastic runners.
Our Pick: Black Rustic Gauze Cheesecloth Table Runner
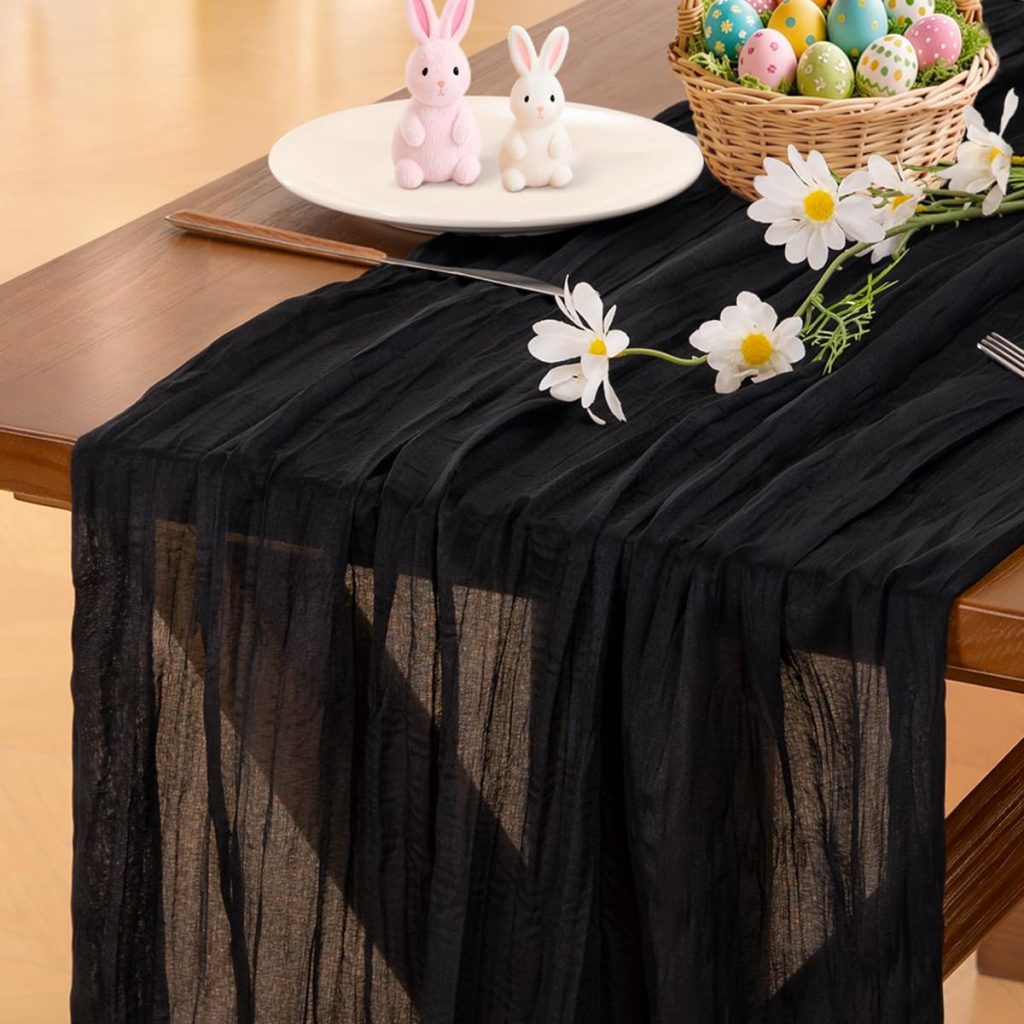
A 10-foot sheer black gauze runner with that signature crinkled cheesecloth texture. Drapes beautifully over wood or linen, doubles as a wedding or fall table runner the rest of the year, and takes about two minutes to set up. Read our full review of the black gauze table runner for material, sizing, and care details.
Step 2: Build the Centerpiece in Layers
The short version: pumpkins in three sizes + something tall at the ends + one texture (cobwebs or dried botanicals) = a finished centerpiece.
Pros don’t buy one “centerpiece” — they layer three things down the middle of the table:
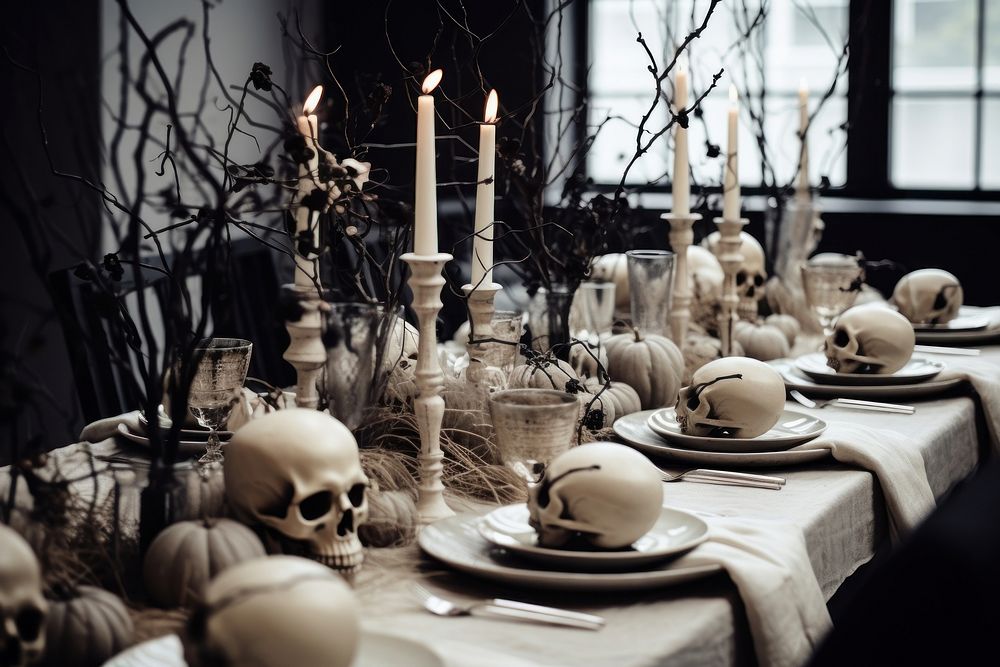
- The base layer: a trail of pumpkins in small, medium, and large along the runner. Mixing jack-o’-lanterns, mini pumpkins, and a couple of white or green gourds looks richer than all-orange. Foam pumpkins from the craft store work fine here since nobody touches them at the table.
- The height: candlesticks or lanterns at the two ends of the table. Keeping tall pieces at the ends — not the middle — is the trick that makes the whole thing look styled rather than crowded.
- The texture: one connecting element woven through everything. Faux spiderweb stretched thin between the pumpkins, dried orange slices, or dark foliage like eucalyptus all work. Pick one and repeat it; that’s what makes it read as intentional.
Step 3: Keep the Middle Low and the Light Safe
The short version: centerpieces above 10–12 inches in the middle block conversation — go low in the center, tall at the ends, and use LED candles wherever fabric is involved.
The number-one tablescape mistake is building a centerpiece so tall that guests can’t see each other across it. Keep everything in the middle of the table at or below about 10–12 inches, and offset the tall candlesticks to the ends of the table where they frame the scene without blocking anyone’s view.
For lighting, LED flameless candles are the practical choice for a decorated table. Real candlelight is beautiful, but real flames plus gauze runners, faux cobwebs, and dried botanicals are a combination you don’t want to supervise all evening. Modern LED candles flicker convincingly, run for hours on a single set of batteries, and can sit directly inside pumpkins, lanterns, and webs with zero fire risk. Save the real candles for the non-flammable spots, like a metal tray on the sideboard.
Step 4: Dress the Place Settings Without Overbuying
The short version: dark plates or chargers + one spooky accent per place = festive settings for almost no money.
You don’t need Halloween plates. Start with what you own and add contrast:
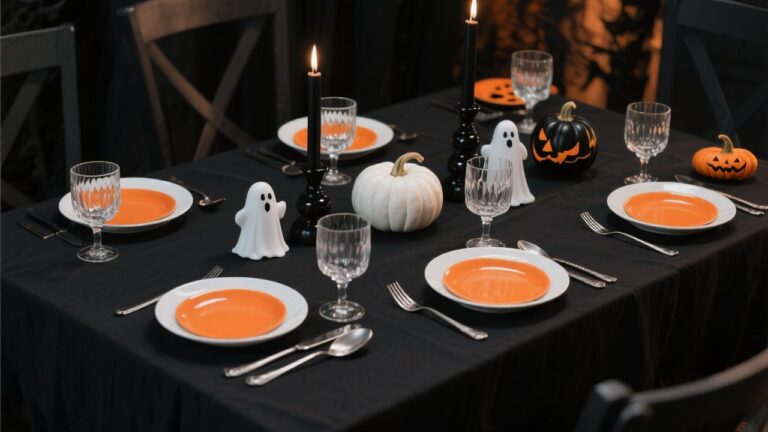
- Layer dark over light: black charger plates under your everyday white or cream dinner plates create instant drama. If you don’t own chargers, a black or deep-purple napkin folded under each plate does the same job.
- One accent per setting: a single mini pumpkin, a sprig of dark foliage, or a name card tucked into a tiny plastic skeleton’s hand. One accent per place is plenty — more looks cluttered.
- Glassware matters more than you think: smoked or amber tumblers cost little and make the whole table glow in candlelight. Clear glasses disappear visually against a dark runner; tinted ones catch the light.
If you already decorated your front porch for Halloween, echo one element from it — the same mum color, the same lantern style — so the inside and outside feel like one plan.
Step 5: Timing and Sizing Cheat Sheet
The short version: set up 2–3 weeks early, carve pumpkins 3–5 days out, and size your runner 12–18 inches longer than the table on each end.
| Task | When / How |
|---|---|
| Set up the full tablescape | 2–3 weeks before Halloween (the earlier the better for parties) |
| Carve real pumpkins | 3–5 days before October 31st (carved pumpkins last 3–10 days outdoors, less in warm rooms) |
| Runner length | Table length + 12–18 inches of overhang on each end |
| Centerpiece height (middle of table) | 10–12 inches max so guests can talk across the table |
| Candle type near fabric | LED flameless (battery-powered, flicker-style) |
Mistakes to Avoid
The short version: don’t build a wall in the middle, don’t mix five themes, and don’t put real flames next to gauze.
- Building a conversation wall: one tall item in the center of a 6-person table means two guests spend dinner looking at a pumpkin. Tall at the ends, low in the middle — every time.
- Theme soup: cute ghosts plus haunted-house gore plus elegant harvest plus goth. Pick one lane and make every item pass the test.
- Real candles on real fabric: gauze runners and faux cobwebs are flammable decor. LED candles near fabric, real flames only on stone, metal, or glass surfaces.
- Overbuying single-use pieces: Halloween decor you use once and store forever is expensive clutter. Favor pieces that work for fall, Thanksgiving, or year-round (black candlesticks, amber glassware, plain pumpkins).
FAQ
How far in advance should I decorate my dining table for Halloween?
Set up the full tablescape 2–3 weeks before Halloween — it doubles as fall decor until then. Only real, carved pumpkins need last-minute timing: carve them 3–5 days before the 31st so they’re fresh for the night itself.
What size table runner do I need for a Halloween tablescape?
Measure your table and add 12–18 inches of overhang on each end for a proper drape. For a standard 6-foot (72-inch) dining table, a 10-foot (120-inch) runner is the sweet spot. Sheer gauze runners are forgiving because the extra fabric just pools more beautifully.
Are black table runners only for Halloween?
Not at all — a black gauze runner works for weddings, gothic dinner parties, New Year’s Eve, and moody fall tablescapes. That’s what makes it one of the best-value seasonal decor purchases: it’s reusable across occasions instead of living in a Halloween-only bin.
Can I use real candles on a Halloween dining table?
Yes, but keep real flames away from flammable decor like gauze runners, faux cobwebs, and dried botanicals. Use LED flameless candles inside and around fabric decorations, and reserve real candles for metal, glass, or stone surfaces where nothing can catch.
How do I make my Halloween table look expensive instead of cheap?
Three things: one consistent theme, repeated textures (don’t mix cobwebs, burlap, AND tinsel), and height variation. Candlelight also does enormous work — the same table looks twice as expensive in warm flickering light as it does under bright overheads.
The Bottom Line
A Halloween dining table needs four things: a dark textured runner, pumpkins in three sizes, safe candlelight, and low centerpieces that don’t block conversation. Start with the runner, layer the rest in about an hour, and you get a table that looks designed — not decorated from a bargain bin. Set it up 2–3 weeks before Halloween and enjoy it all season.
Common Questions About Decorating a Dining Table for Halloween
How do I decorate my dining table for Halloween?
Start with a dark textured runner — a black cheesecloth gauze runner is the single highest-impact piece — then build a low layered centerpiece with pumpkins in three sizes plus candlelight, keeping the middle of the table clear.
Layer the centerpiece in three parts: a trail of small, medium, and large pumpkins along the runner, tall candlesticks or lanterns at the two ends (not the middle), and one connecting texture like faux cobweb or dried botanicals woven through. Dress place settings with dark chargers or napkins plus one spooky accent each.
The whole look comes together in an afternoon and reuses year after year.
What is the easiest high-impact Halloween table decoration?
A black gauze runner instantly turns any table into a Halloween table — it is the one item that does half the work.
The cheesecloth-style texture reads as spiderweb fabric: wispy, crinkled, and dramatic over wood or linen. It also works beyond Halloween: layer it over white linen for a wedding, scrunch it down a sideboard for Thanksgiving, or reuse it every October.
Size it 12 to 18 inches longer than the table on each end for the right drape.
How tall should a Halloween centerpiece be?
Keep everything in the middle of the table at or below 10 to 12 inches so guests can see each other across it, and put tall pieces only at the ends.
The number-one tablescape mistake is building a centerpiece wall that blocks conversation. Offset tall candlesticks to the table ends for the styled-not-crowded look, and use LED flameless candles wherever fabric is involved — real flames plus gauze runners and faux cobwebs are a combination to avoid.
Low in the middle, tall at the ends, LED everywhere near fabric.
How do I set a Halloween table without buying a lot of stuff?
You do not need Halloween plates: layer dark chargers or deep-purple napkins under your everyday dishes for instant drama, then add one spooky accent per setting.
A single mini pumpkin, a sprig of dark foliage, or a name card is plenty — more looks cluttered. Smoked or amber glassware costs little and makes the whole table glow in candlelight, while clear glasses disappear against a dark runner.
Start with what you own and add contrast; one accent per place is the rule.
When should I set up Halloween table decorations?
Set up 2 to 3 weeks early for maximum enjoyment, but carve real pumpkins only 3 to 5 days before the event since carved pumpkins soften quickly.
Foam pumpkins from the craft store carve cleanly with standard kits, need no gutting, and store for next year — mixing a few with real mini pumpkins looks richer than all of one kind. Echo one element from your front porch decor so inside and outside feel like one plan.
Timing the carving is the detail most people get wrong.