Quick Answer: How Do You Decorate Windows for Halloween?
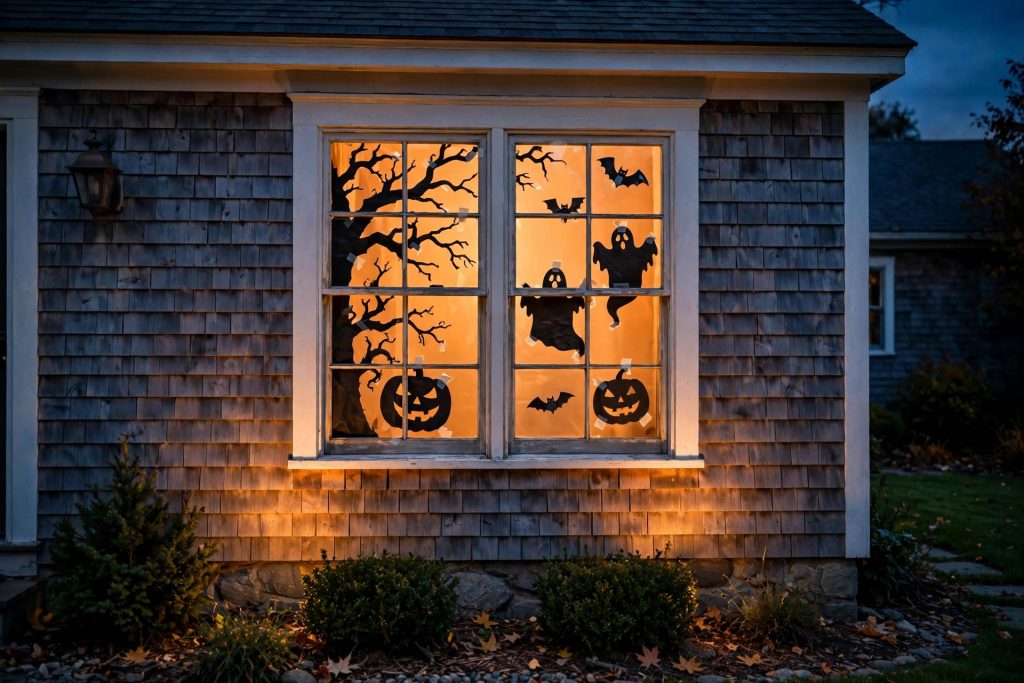
The short version: The most striking Halloween windows are backlit silhouettes — black cutouts (ghosts, bats, pumpkins, haunted trees) placed on the inside of the glass, lit from within the house so they glow against the night. Add reusable window clings for color, frame the glass with string lights or cobwebs, and finish by day with a clean arrangement. Plan 2–4 hours for a first-timer, and put decorations up in the last two weeks of October.
Step 1: Pick Your Style — DIY Silhouettes or Reusable Clings
The short version: DIY black-paper silhouettes give the most dramatic night effect; reusable clings are faster, colorful, and zero-waste.
Every great Halloween window starts with the same decision: do you want a handmade cutout scene, a set of ready-made clings, or a little of both?
- DIY black-paper silhouettes (the classic): Cut bats, witches, ghosts, pumpkins, or a full haunted-house scene from black construction paper or cardstock, then tape them to the inside of the window. With the room light on behind them, they read as crisp black shapes against glowing glass — the exact effect trick-or-treaters photograph. Keep the first design simple: an odd-numbered cluster of bats or one large haunted tree does more than a fussy, over-complicated panel.
- Reusable window clings (the easy route): Static clings go on with a mist of water, peel off cleanly, and store flat for next year — no tape, no residue, no repurchasing. They also add color that paper silhouettes can’t: orange pumpkins, white ghosts, purple bats.
Mixing the two is the trick most styled homes use: one big black-paper silhouette scene as the anchor, then a handful of colorful clings filling the empty panes.
Our Pick for Window Decor: 3 XL Scary Ghost & Pumpkin Halloween Window Clings
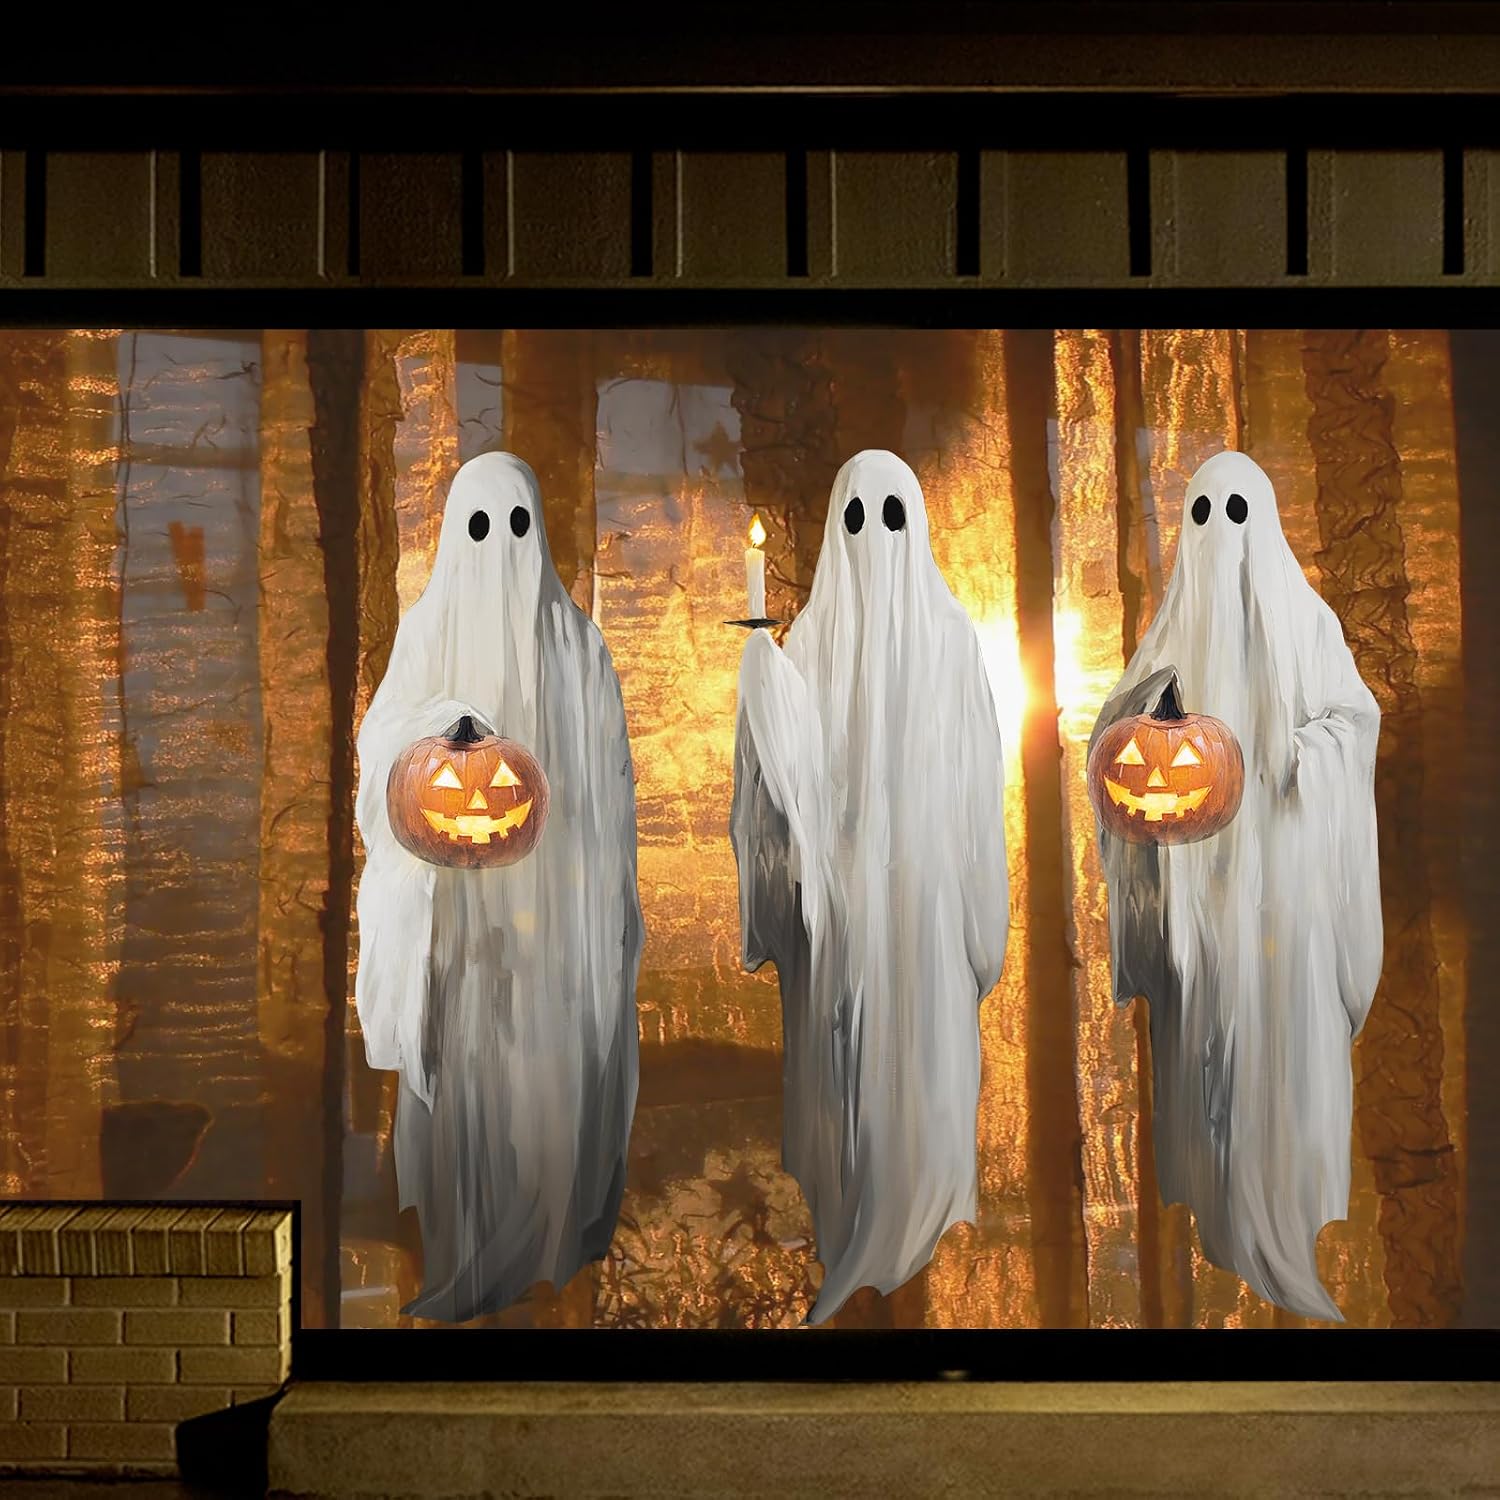
Oversized ghost and pumpkin clings made for glass — apply with water, reposition freely while placing your scene, and peel off cleanly after Halloween for reuse next year. Big enough to read from the street, which is exactly what window decor has to do. Read our full review of the Halloween window clings for details.
Step 2: Measure and Compose the Scene
The short version: Fill roughly a third of each pane, group in odd numbers, and keep the heaviest shapes at eye level.
Measure the inside of each pane before you cut or buy anything. A common first-timer mistake is decorations that are too small — from the sidewalk, a 6-inch bat on a 4-foot window simply vanishes. A good rule: fill about one-third of the pane’s area, with the main shapes sitting at eye level (roughly 4–5 feet off the ground outside).
| Window size | Main silhouette size | How many accent pieces |
|---|---|---|
| Small (under 24″ wide) | 12–18″ | 3–5 |
| Medium (24–48″ wide) | 18–30″ | 5–9 |
| Large / picture window | 30–48″ | 9–15 |
Group accents in odd numbers (3, 5, 7) — a design trick that makes clusters look natural instead of mechanical. If you have twin windows, mirror the composition roughly but not exactly; slight asymmetry looks hand-crafted, perfect symmetry looks like a store display.
Step 3: Light the Window from Inside (This Is the Whole Trick)
The short version: The backlight is the decoration — one warm lamp or orange LED string behind the glass turns flat cutouts into glowing silhouettes.
A silhouette only works with light behind it. After sunset, close the curtains partway, place a lamp or a strand of LED string lights on the sill or a table near the window, and let the glass do the rest. Colored light sells the mood: orange for classic Halloween, purple for eerie, warm white for a friendlier pumpkin-patch feel.
- Use LEDs, never real candles, behind paper silhouettes or fabric — open flames near paper, cheesecloth, or cobwebs are a fire risk. Battery or USB fairy lights cost almost nothing to run for hours.
- Test it from the street. Walk outside after dark and check. If the silhouettes look gray and washed out, the backlight isn’t strong enough or the room is too bright — move the light closer to the glass.
- Dusk-to-dawn timers (built into many LED strings and smart bulbs) mean your display runs itself every evening without you remembering to flip a switch.
Daytime matters too: the same window should look tidy by daylight. Paper silhouettes are only visible from inside during the day, while clings read from both sides — one more reason the mixed approach works so well.
Step 4: Frame the Glass
The short version: A framed window reads as a finished display; a bare decorated pane reads as an afterthought.
Once the silhouettes are up, frame the outside edges:
- Cobwebs and spiders stretched over the frame and onto the glass — the single cheapest Halloween upgrade per dollar.
- String lights around the trim — outline the frame with orange or purple LEDs to define the display from down the block.
- Tattered cheesecloth draped across the top of the frame for an abandoned-mansion look; keep it outside the glass so it doesn’t block the silhouettes.
- The sill — line it with LED-lit pumpkins or lanterns at varying heights for dimension. Battery-powered versions avoid cords snaking through the window.
Step 5: Time It Right and Reuse Everything
The short version: Put windows up 2–3 weeks before October 31; store clings and paper scenes flat and they’ll last for years.
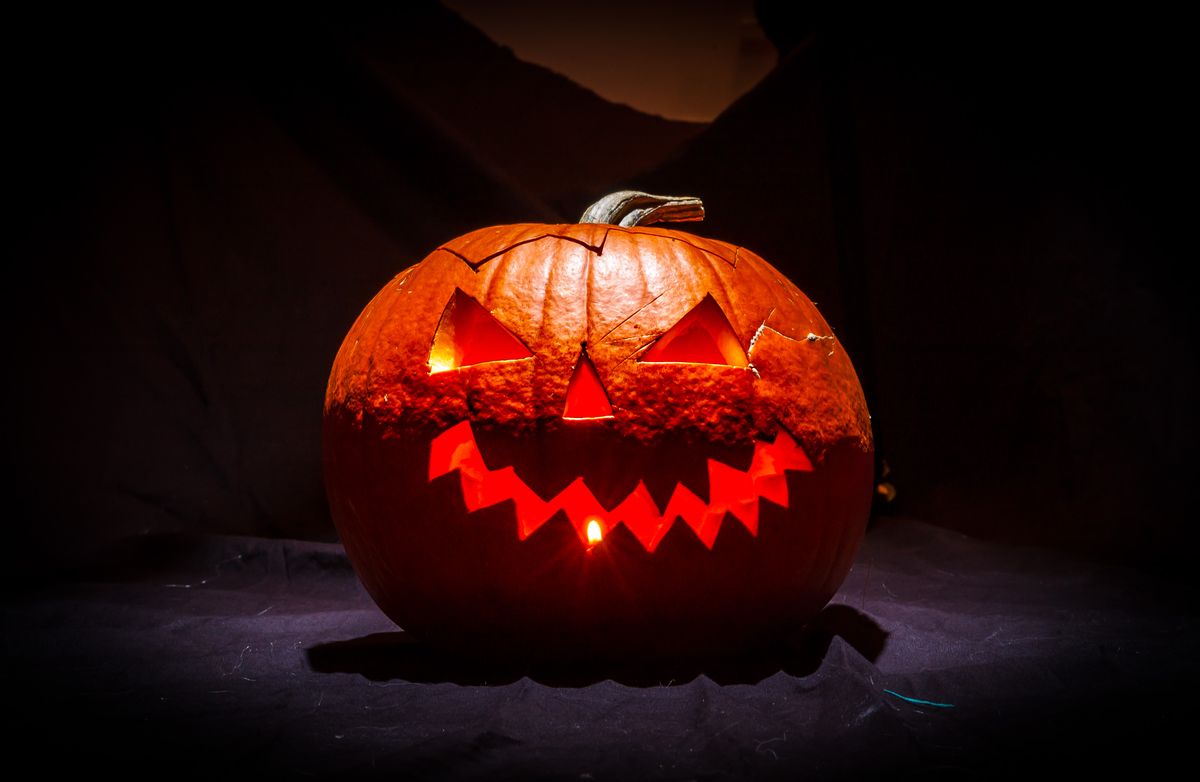
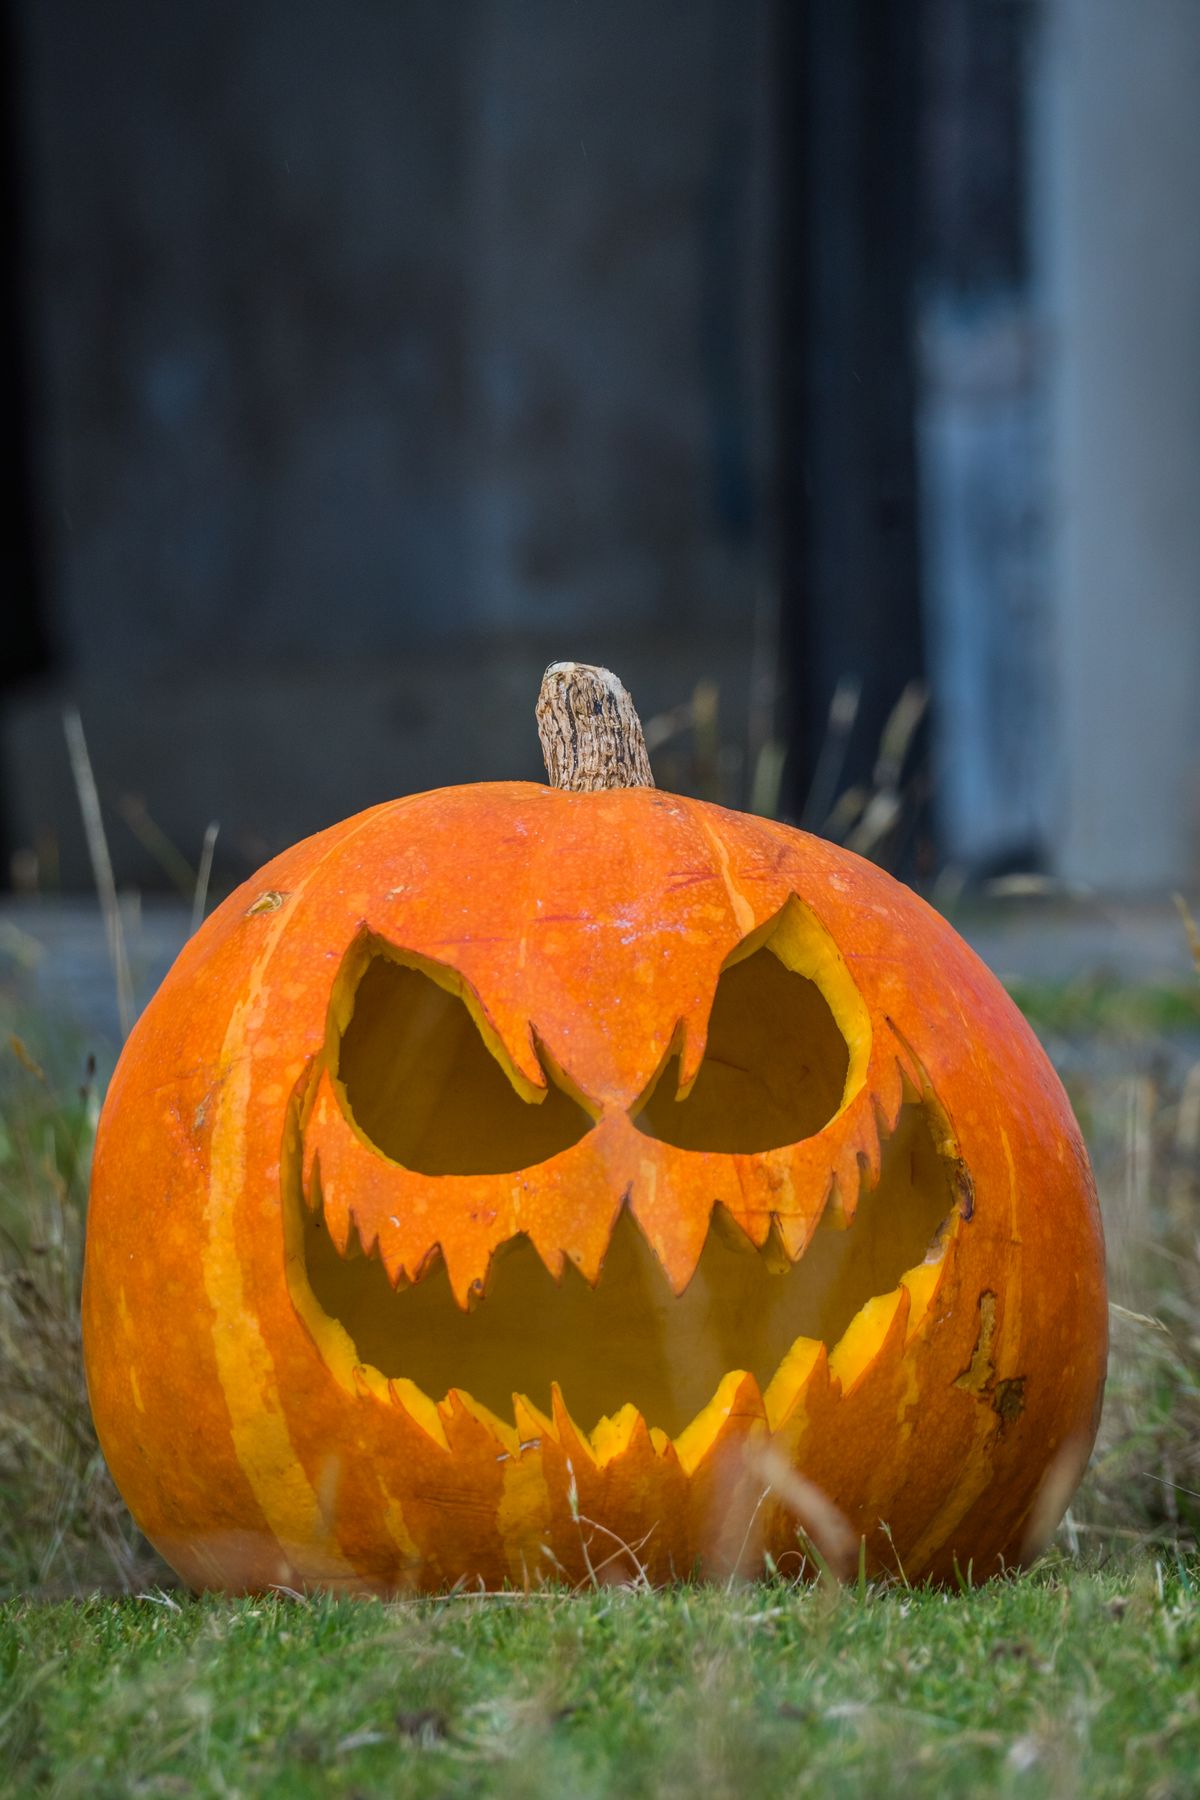
Most households decorate in the first half of October, but windows are weather-protected, so there’s no rush — the last two weeks of October is the sweet spot. Carved pumpkins only last a few days outdoors, so save those for the final weekend; your window display can go up much earlier.
Sustainability is the bonus of window decorating: paper silhouettes last for years stored flat between sheets of paper, static clings peel off and store on their backing, and LED strings use a fraction of the energy of old incandescent sets. One evening’s work in October becomes a five-minute setup next year.
For the rest of the house, see our guides on decorating a front porch for Halloween and decorating a living room for Halloween — the window is the bridge between the two.
Mistakes to Avoid
- Decorating only the outside of the glass — the magic comes from light behind the shapes, which means inside placement.
- Real candles behind paper — always LED. No exceptions.
- Tiny decorations on big windows — measure first, then cut or buy.
- Putting displays up too late — you only get about two weeks of prime October evenings; don’t waste them on rush prep.
FAQ: Halloween Window Decorations
Should Halloween silhouettes go on the inside or outside of the window?
Inside. Tape or cling them to the interior glass, then light them from inside the room. From outside at night, they appear as dark shapes glowing against lit glass — the effect people photograph. Interior placement also protects them from rain and wind.
How do you make Halloween window silhouettes stay up?
For paper cutouts, use small loops of painter’s tape or washi tape — they hold through October and come off cleanly. Static clings need only a light mist of water on the glass. Avoid packing tape or hot glue on glass; both can leave residue.
What color light looks best behind Halloween window decorations?
Orange is the classic, purple reads eerie, and warm white suits a friendly harvest look. Green backlighting gives an unmistakably haunted effect. Whatever you choose, keep it LED and dimmable so the silhouettes stay dark against the glow rather than washing out.
How early can I put up Halloween window decorations?
Anytime in October — windows are weather-protected and quick to set up, so even the first week of the month works. If you carved real pumpkins for the sill, save those for the final 3–5 days before Halloween, since carved pumpkins deteriorate fast.
Are window clings reusable?
Yes — static clings are designed for reuse. Peel them off carefully, press them back onto their original backing sheet (or wax paper), and store them flat. They’ll stick again next October with just a mist of water.
The Bottom Line
Decorating windows for Halloween comes down to one principle: black shapes + backlight = instant spooky scene. Cut or cling your silhouettes on the inside of the glass, light them with warm orange LEDs, frame the edges with cobwebs and string lights, and you’ll have a display that photographs well from the street and takes down in minutes on November 1st. Pair it with our Halloween dining table guide for a whole-house look.
Common Questions About Halloween Window Decorations
How do you make Halloween window silhouettes?
Cut black poster board or cardstock into shapes — ghosts, bats, pumpkins, haunted trees, witches — tape them to the inside of the glass, and light the window from within the house so the shapes glow against the night. Simple bold shapes read best from the street; fiddly details disappear in the dark, so keep designs big and graphic.
Simple bold shapes read best from the street; fiddly details disappear in the dark.
A first-timer should plan 2 to 4 hours for cutting and arranging.
How do you light Halloween window decorations?
Light from inside the house behind the decorations — that's the whole trick — using warm white string lights, a lamp placed a few feet back, or LED strips to create the backlit glow that makes silhouettes pop. Keep the room behind dark otherwise so the lit window is the focal point, and avoid placing lights right against the glass.
Keep the room behind dark otherwise so the lit window is the focal point.
Avoid placing lights right against the glass, which creates hot spots instead of even glow.
DIY silhouettes or store-bought window clings: which is better?
DIY silhouettes give you custom scenes, bigger impact, and pennies-per-window cost, while reusable clings give you color, detail, and zero craft time — many decorators use both, with bold DIY silhouettes as the base and clings for accents. There's no wrong answer; there's only the look you want for the effort you'll give.
First-timers often start with clings and graduate to DIY.
There's no wrong answer; there's only the look you want for the effort you'll give.
When should you put up Halloween window decorations?
Put them up in the last two weeks of October — early enough to enjoy them, late enough that they feel like an event rather than background. Paper silhouettes in particular don't love weeks of sun exposure and condensation, so take them down within a few days after Halloween.
Paper silhouettes in particular don't love weeks of sun exposure and condensation.
Take them down within a few days after Halloween so the magic doesn't curdle into neglect.
How do you make Halloween window decorations reusable?
Cut silhouettes from sturdy poster board or thin craft foam instead of flimsy paper, store them flat between sheets of cardboard, and use painter's tape or static clings rather than adhesives that tear. Well-made silhouettes last for years, so label each year's sets as you store them and next October becomes a ten-minute setup.
Well-made silhouettes last for years.
Label each year's sets as you store them and next October becomes a ten-minute setup.